|
|
 |
|
Tweet
|
|
|
|
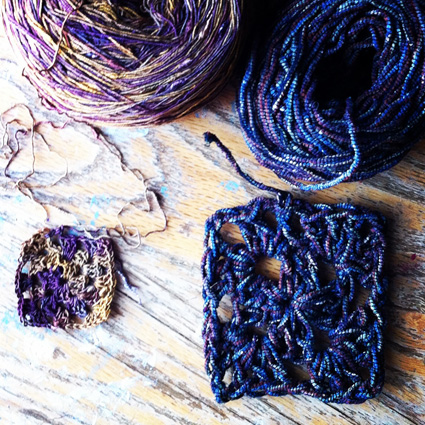
Where is Granny When You Need Her? We're going to work up to making a granny motif by learning the stitches required -- the chain and the double crochet. Next time, we'll work on crocheting in the round and creating and assembling small motifs. Then, we'll take our building blocks and create a wearable project using your newfound crochet prowess. Back to Basics
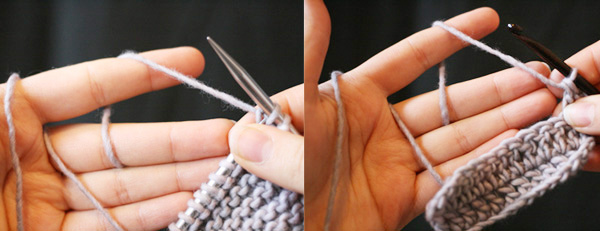
There are two common ways to hold the hook in crochet. We call one the pencil hold (below left), and one the knife hold (below right) because they mimic the way you would hold a pencil or a knife. But just like there is no wrong way to knit, there is also no wrong way to crochet or hold your hook. You need to play a bit and find what is comfortable for you. If you crochet a while and things don't feel right, try something different.
It's great, when you are jumping into a new skill to have buddies who can give you moral and physical support. Find crocheters at your local yarn shop and ask them to show you how they crochet.
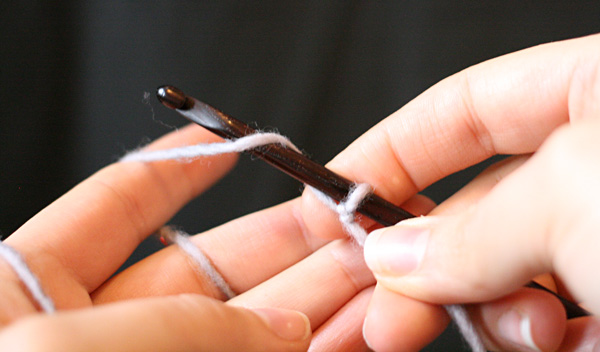
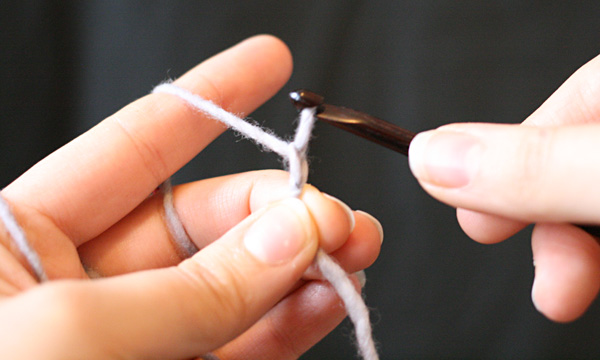
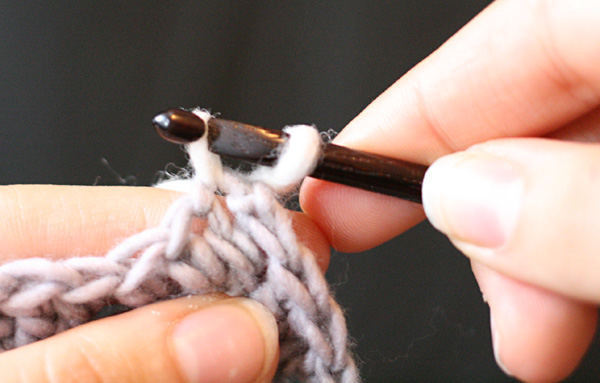
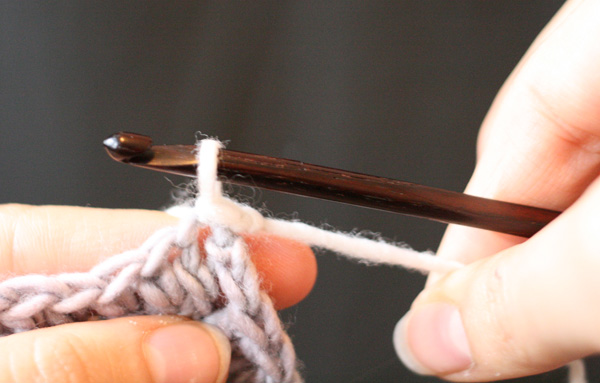
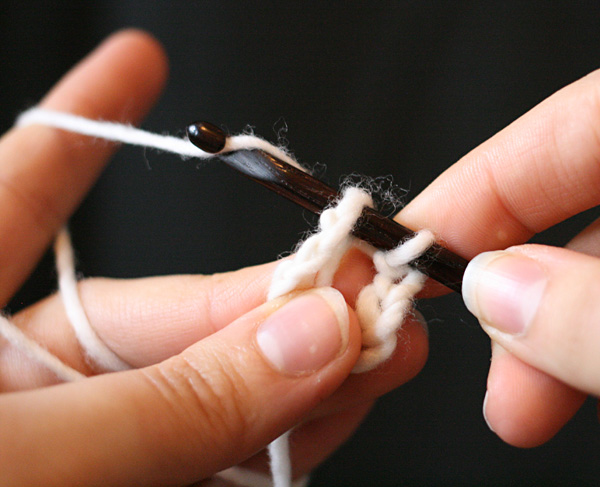
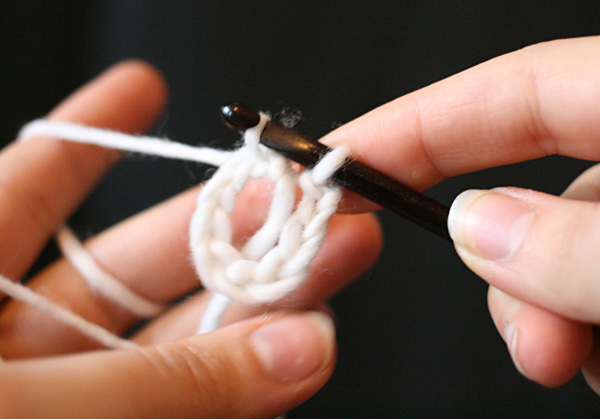
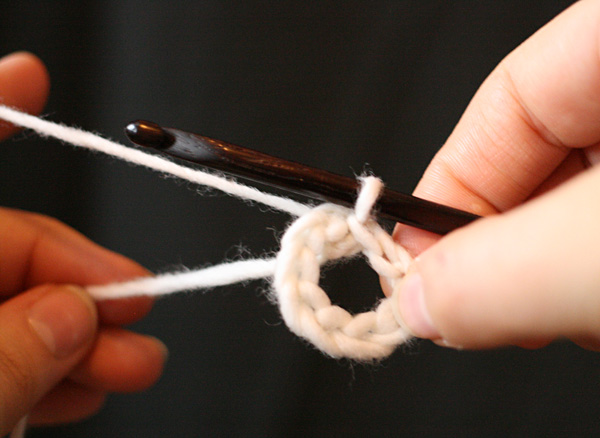
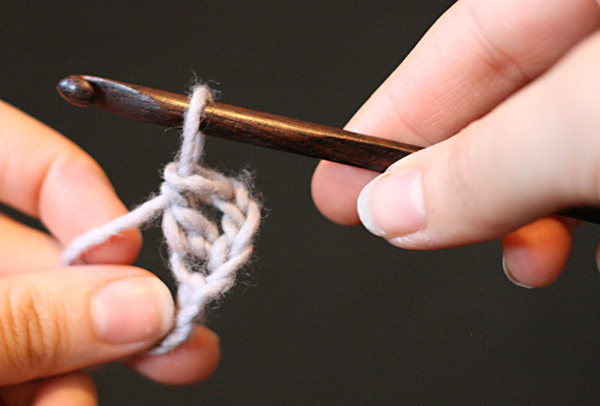
The Chain Stitch
In knitting (except combination knitting), a yarnover is made from front to back so it's oriented in the same way as the other stitches, but with crochet a yarnover is formed by placing the working yarn over the hook from back to front (or to shorten the movement swooping the hook under the working yarn and up, which will catch the working yarn in the same way).
Use That Chain in Your Knitting Slip Stitch To work the slip stitch:
Use Slip Stitches in Your Knitting
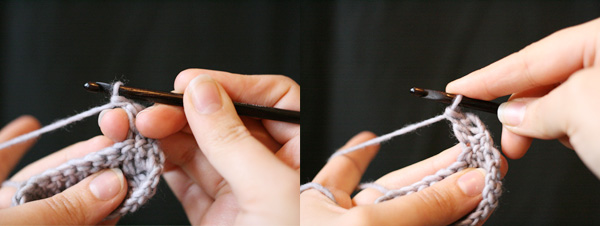
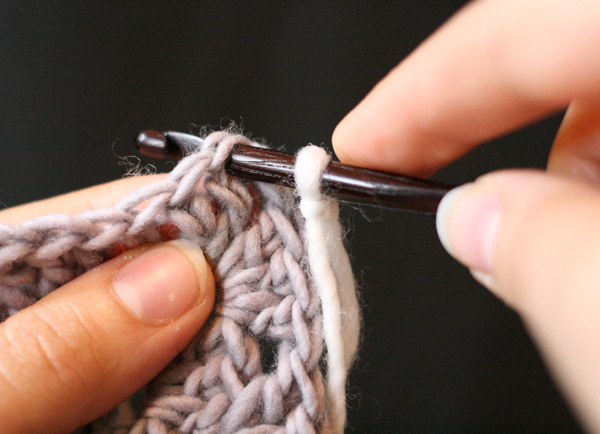
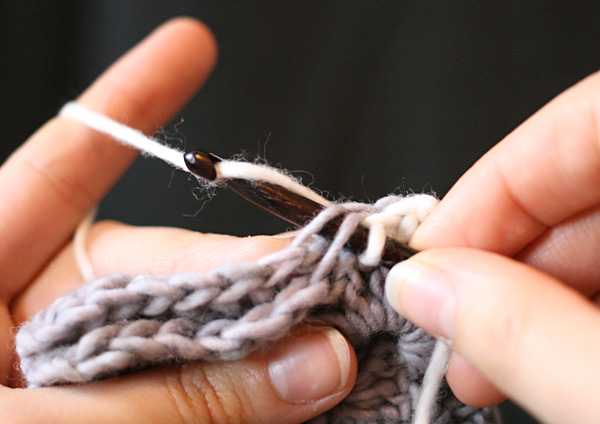
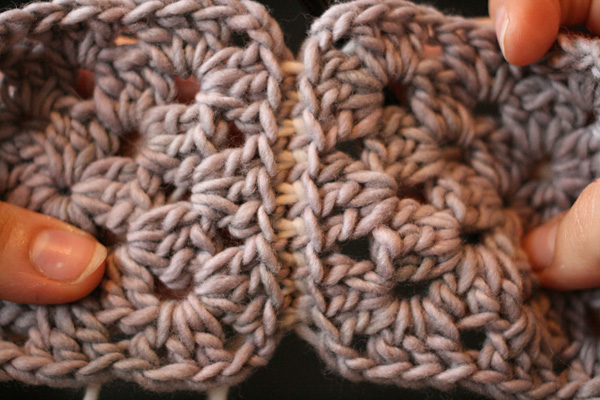
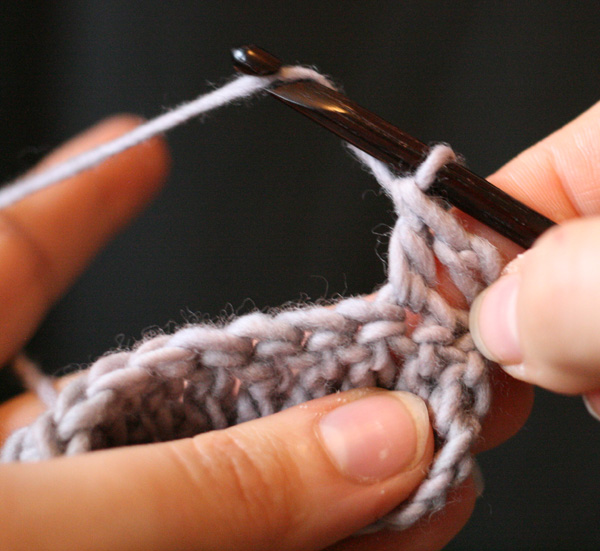
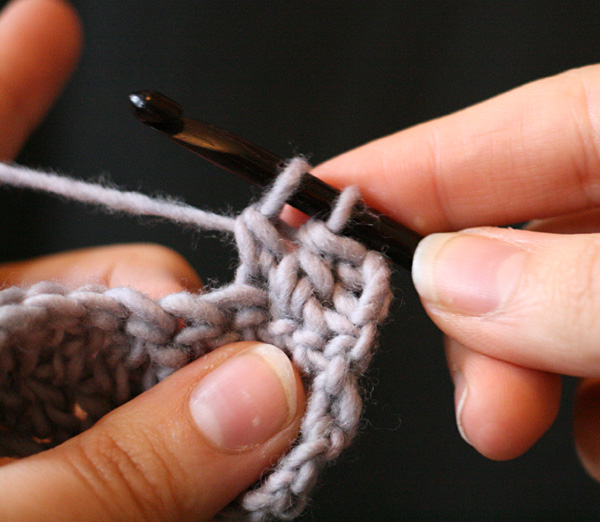
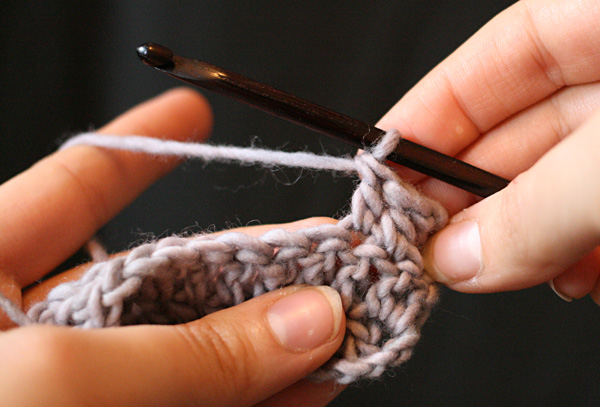
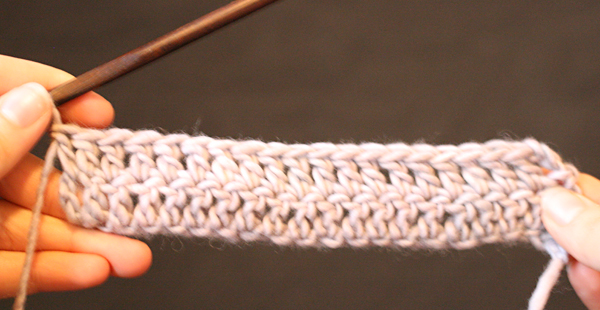
Double Crochet
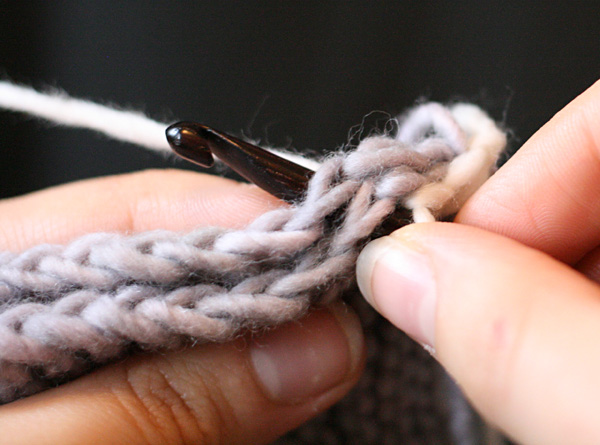
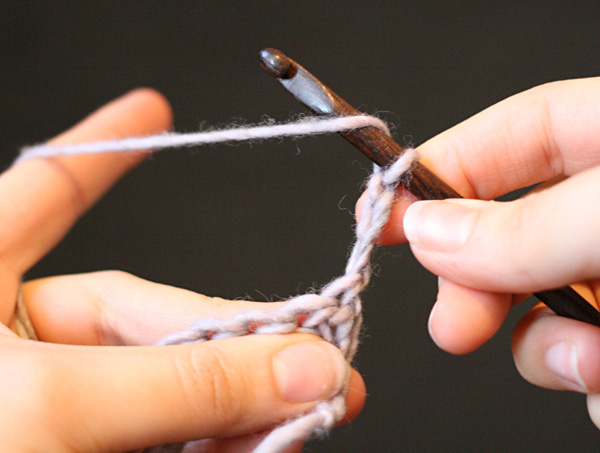
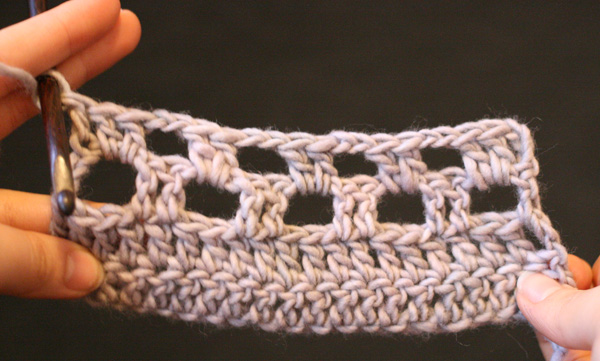
Double Crochet is the main building block of the Shell stitches that make up a granny square. A shell is any multiple of stitches worked into the same stitch or space. Using Double Crochet in Your Knitting In knitting, where to put the needle next is a relatively simple question. You're more than likely going to be taking your right needle and inserting it into a loop or loops on your left needle. Crochet is fundamentally different. Each stitch is complete (bound off, to use a knitting metaphor) and doesn't live on the hook once you've created it. Crochet stitches are not "live" the way knitting stitches are, and therefore you don't need a live stitch to build more stitches. You can feasibly create new crochet stitches anywhere you can get a hook through fabric. It's a concept that's both liberating and complicating. "Yes! I can make stitches anywhere! That means my crochet can take any shape I want," leads quickly to, "Oh no! My crochet is not staying in the lines, how do I create a simple rectangle?" (Or any shape a pattern requires.) Today we're going to consider placing the hook when working in double crochet in rows. Later, we'll talk about how things might be different working in rounds. In rows, you have three areas to consider: the start, the body of the row, and the end. Because the hook can go anywhere, and might go in different places depending on the pattern, it's important to pay attention to pattern language. For instance, A pattern might begin:
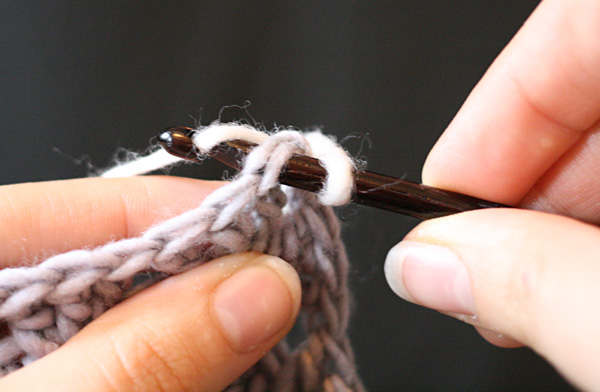
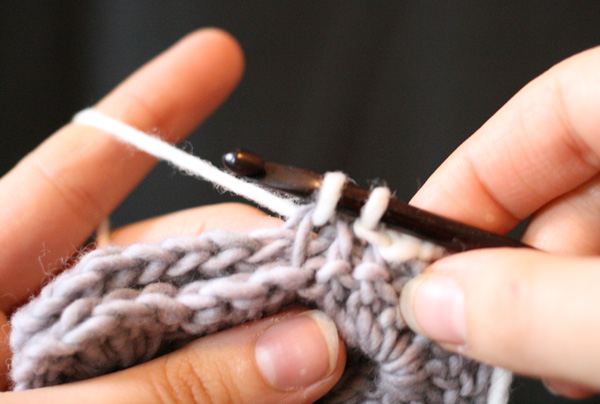
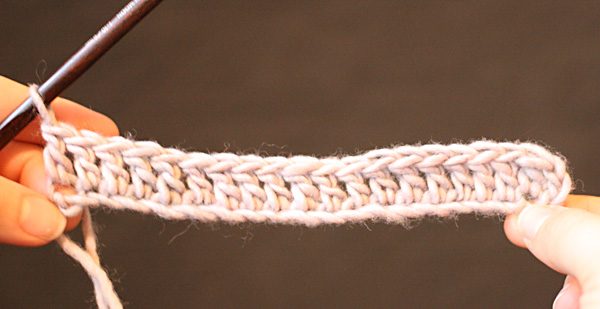
Following these instructions, you'd end up with 20 stitches in your next row: 19 double crochets and 1 turning chain created by the three chains you didn't work at the beginning of the row. 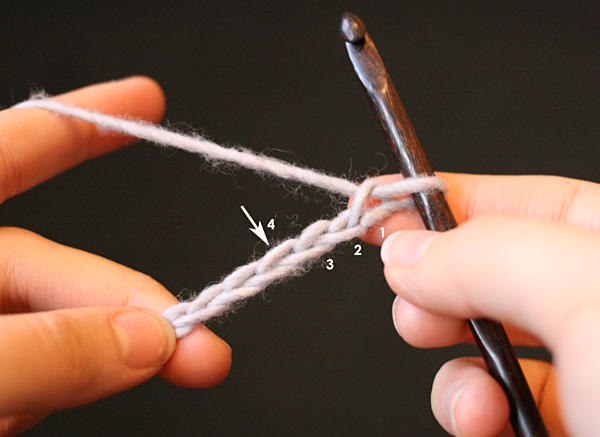
Continuing in the swatch above, the next row could read:
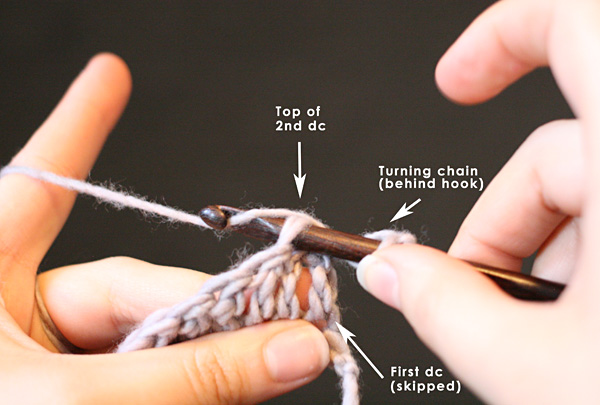
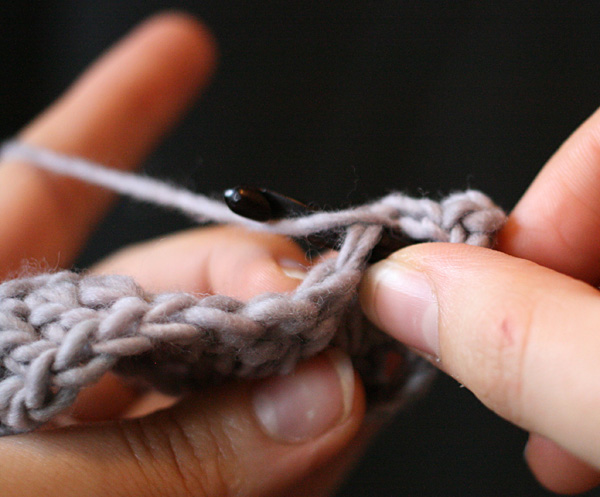
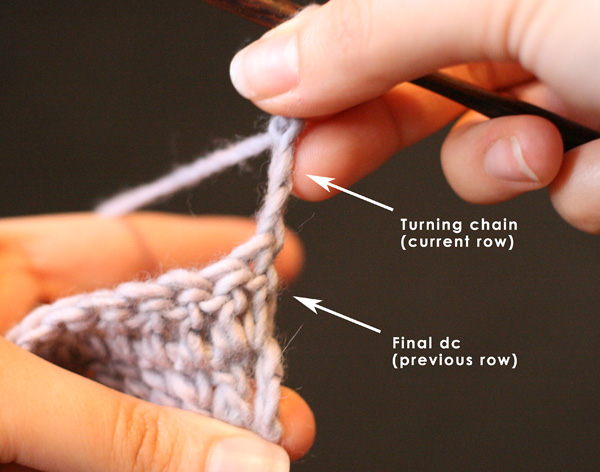
Following the instructions would maintain the count of 20. What the pattern is not explicit about is what to do with that turning chain you made in the row below. Typically, the final double crochet is worked into the top (meaning the ch closest to the previous stitch) of the turning chain.
Why do the instructions say "skip first dc?" That's because in a row of double crochet, that turning chain acts as the first double crochet of the row.
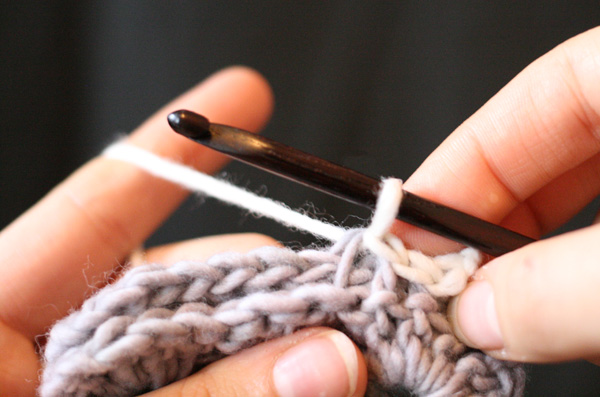
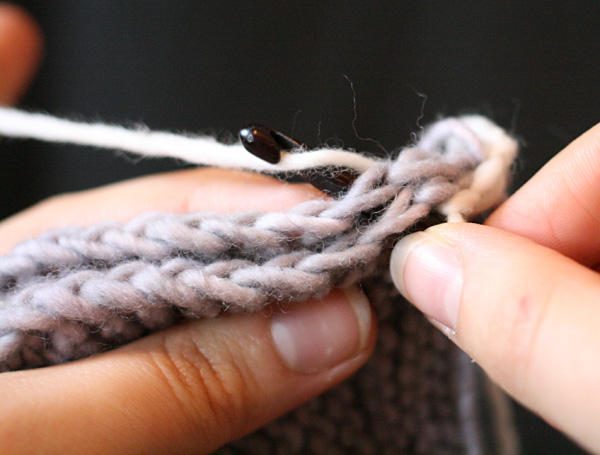
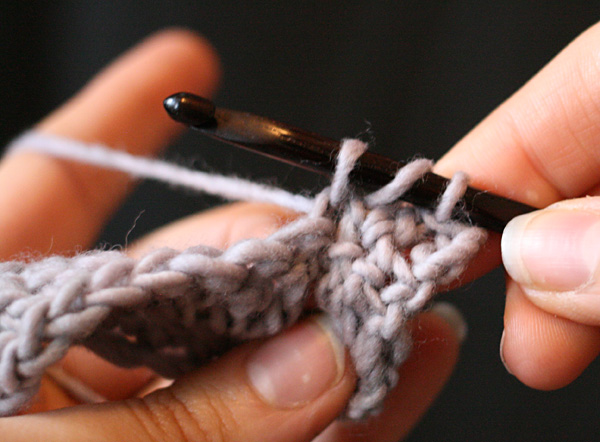
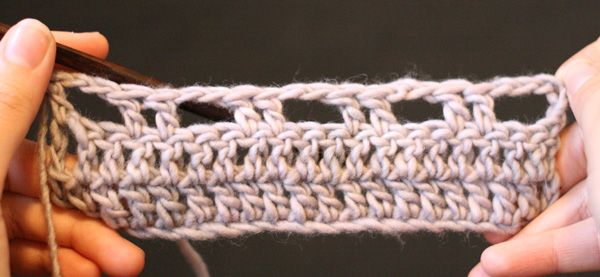
Stitches Out of Thin Air In the swatch you started above, try this:
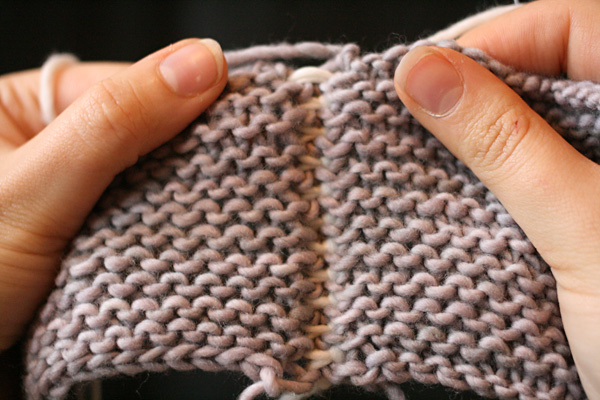
In the row above, you've created five chain spaces where stitches can go in the following row.
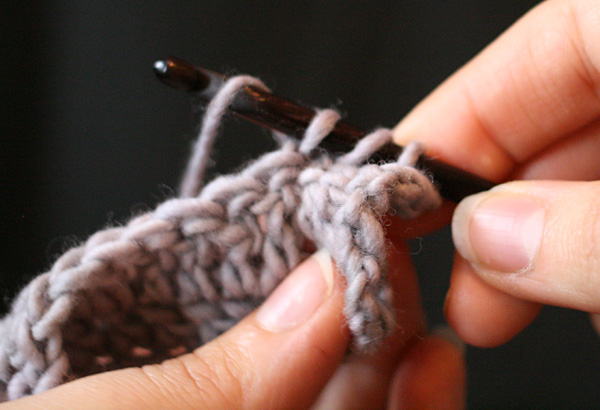
Repeating Rows 3 and 4 gives you an alternating pattern of ch spaces that resembles the granny square motif. Granny squares use the same idea of a chain space but they are worked in the round. We'll try one next time. |
| ABOUT THE DESIGNERS |
|
Miriam can be found on on the web at miriamfelton.com, and on Twitter @mimknits. Amy O'Neill Houck blogs at thehookandi.com and tweets @plainsight. Amy and Miriam both have patterns on ravelry.com. |
| Pattern & images © 2014 Amy O'Neill Houck + Miriam Felton, except first photo ©Jillian Moreno. Contact Miriam |