sk2p: Sl 1, k2tog, pass
slipped st over. 2 sts decreased.
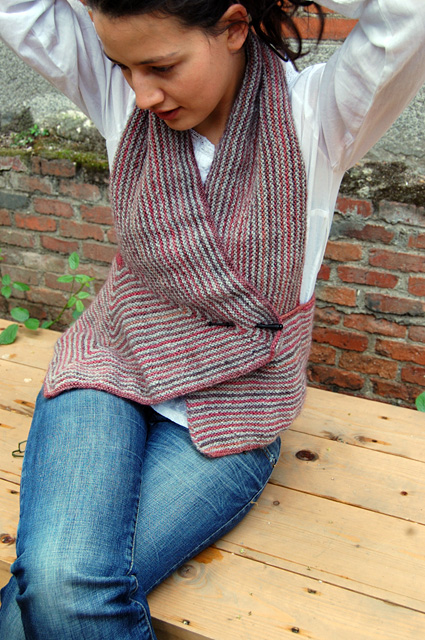
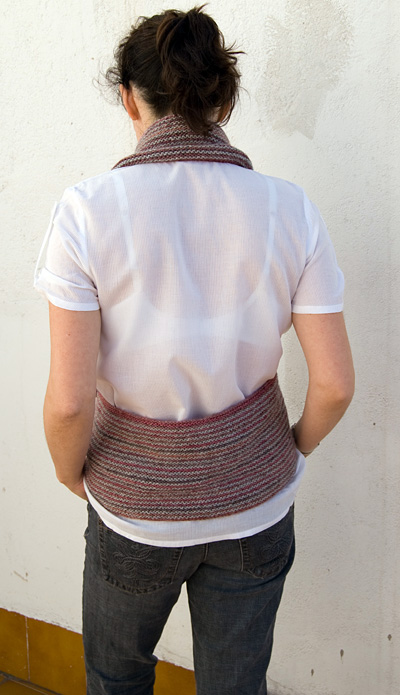
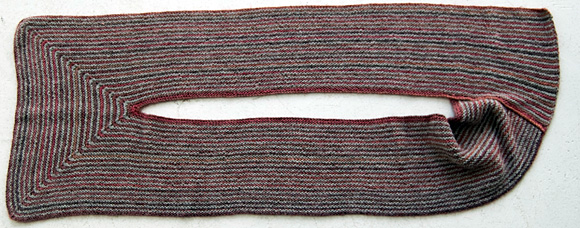
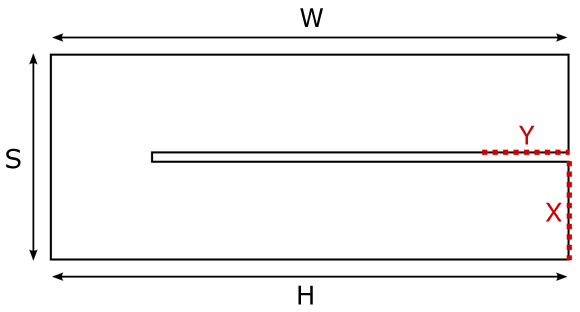
The vest is worked in one piece in garter stitch, and then
sewn as shown in the diagram.
This is a formula pattern, which means that you will be
required to take a few
measurements and do a few
simple calculations before
you begin to knit. This
will ensure that the vest
you knit will be a good
fit for you!
Note
that even though the schematic
shows W and H to be the same length, your W and H may be
different.
Take these measurements, in inches, and record them in
the spaces provided. (If you only have a metric tape measure,
divide each measurement in centimeters by 2.54 to obtain
the measurement in inches.)
W:
Waist _________
Measure your waist circumference,
wrapping the tape measure loosely, over your clothes.
If you want the vest to fit a bit loosely, add an inch
or two. Remember, this isn't an accurate measurement of
your body, but a measurement used to calculate a garment
shape.
H: Halter Length _________
Hold the beginning of the
tape measure at your waist, centered beneath one breast.
Measure up over the fullest part of your bust, over your
shoulder, to the center of your upper back, just below
the base of your neck. (There's a vertebra that sticks
out slightly there; that's about the right spot.)
Multiply this number by
2. The result is your halter length.
S: Shoulder Width _________
Measure the width of your
shoulders, across your
upper chest. Don't begin
and end at your shoulder
bones, but at the outsides
of your shoulders. Subtract
1 inch.
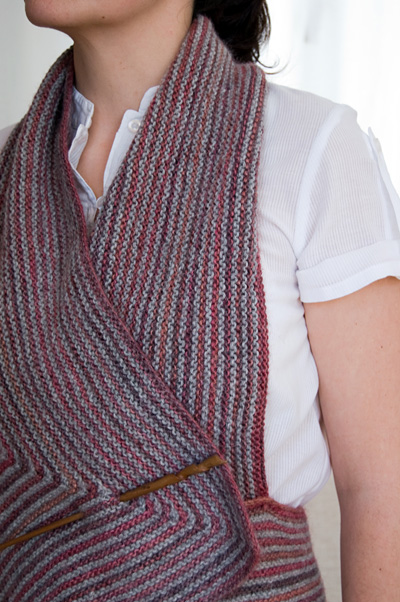
Stripe Pattern:
Stripe pattern begins with
a RS row.
K 2 rows using MC.
K 2 rows using CC.
Repeat these 2 rows for
Stripe Pattern. Carry yarn not in use loosely along edge
of work.
Information about blocking can be found here and here.
|