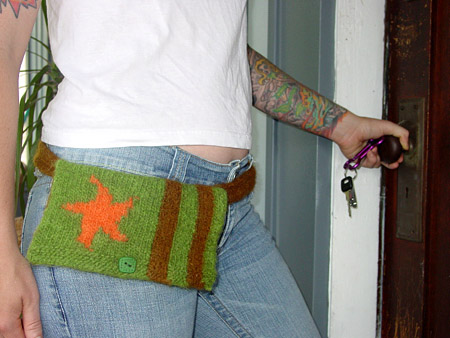
 Flap
Flap
Using Cable Cast On or Knitted Cast On, CO
24 sts using CC1, 4 sts using MC, 4 sts using
CC1, 4 sts using MC, 4 sts using CC1. 40 sts.
Cont as follows, working colors as set to
form vertical stripes:
K 3 rows.
Next Row [WS]: K20, yo, k2tog, k
to end.
K 2 rows.
Beg with a RS row, work 4 rows in stockinette
st.
Next Row [RS]: Work 20 sts in patt
as set, work first row of chosen chart over
next 16 sts, k4.
Work next 23 rows in patt as set, working
through rem 23 rows of chosen chart.
Work 5 more rows in stockinette st. Break
yarn.
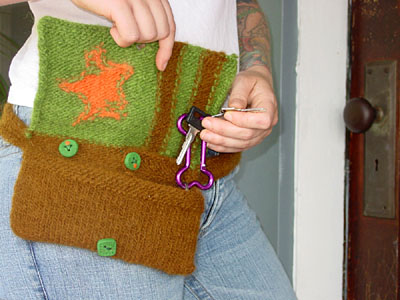
Belt Slit
Next Row [RS]: Using MC, k4, place
rem sts on hold on other circular needle.
Work 5 more rows in stockinette st, break
yarn.
Rejoin yarn to held sts with WS facing. Work
6 rows in stockinette st; CO 36 sts at end
of last row. Place new sts on one circular
needle, place rem 40 sts (from both sides
of slit) on other circular needle, place marker
and join to begin working in the round. 76
sts.
Round 1: K40, p36.
Round 2: K42, m1, k to last 2 sts,
m1, k2.
Repeat these 2 rounds once more. 80 sts.
Work Round 1 once more, then work
in stockinette st until work measures 4.5
inches from beg of section worked in the round.
Turn work inside out and work Three-Needle
Bind Off, joining sts on first needle to sts
on second needle.
Belt
Place pouch so that back of pouch is facing,
with flap open. Using MC, pick up and k 9
sts along right side of flap, at edge of MC
band between CC1 section of flap and top of
pouch; pick up 3 sts for every 2 rows.
Row 1: K6, bring yarn between needles
to front of work, sl rem 3 sts to right needle.
Repeat this row until belt measures 6 inches
longer than High Hip Circumference (see Pattern
Notes). The slipped sts at each edge of the
belt will form a border similar to I-Cord,
which will help prevent the belt from stretching.
Buttonhole Row: K4, yo, k2tog, bring
yarn between needles to front of work, sl
rem 3 sts to right needle.
Work 4 more rows in patt. BO all sts.