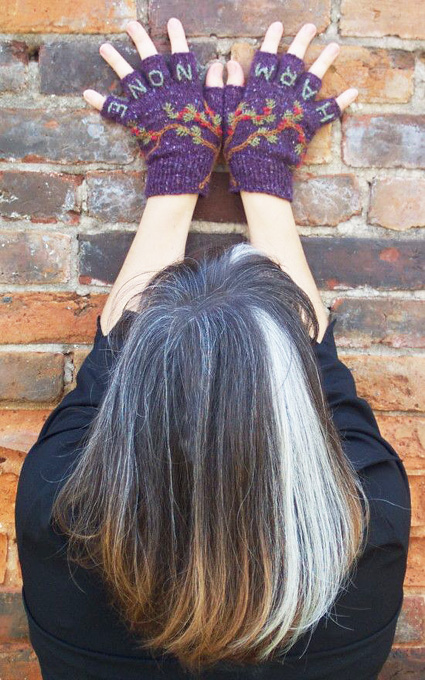
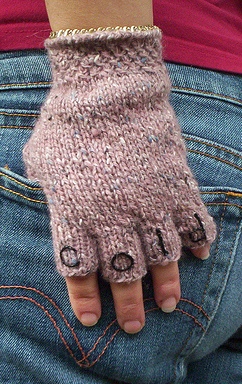
Note:
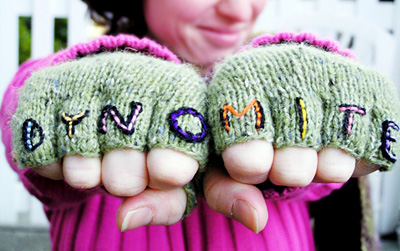
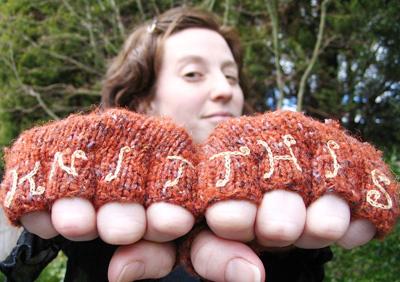
When making fingers, label each finger as
you complete it.
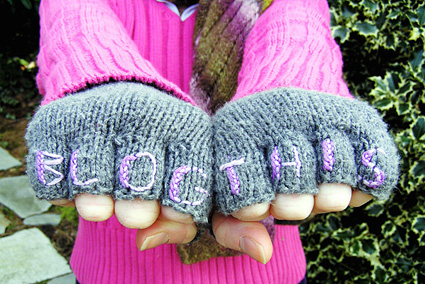
Note:
When making fingers, label each finger as
you complete it.
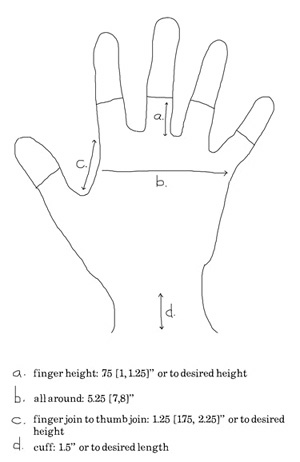
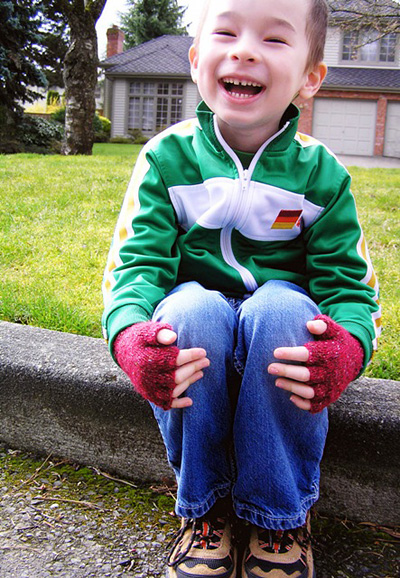
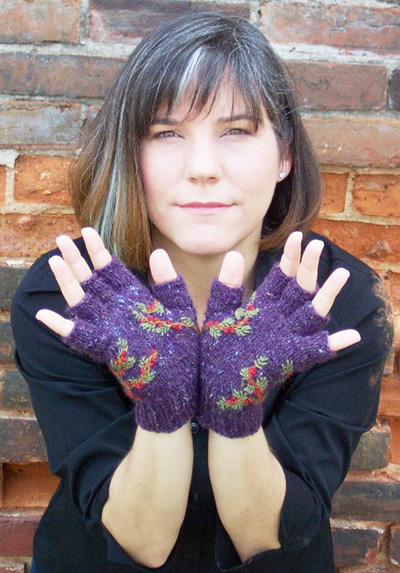
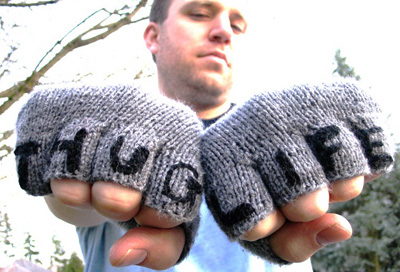
Glove [make 2]
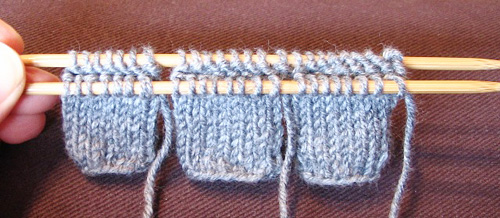
Thumb
Loosely CO 14[16, 18] sts. Distribute evenly
between needles and join to begin working
in the round, being careful not to twist.
Work in stockinette st until work measures
0.75[1, 1.25] inches, or desired length. Break
yarn, leaving a 6-inch tail, and place all
sts on waste yarn.
Make a note of how many rows you have worked,
so that the second glove may be worked exactly
the same way.
Little Finger
Loosely CO 10[12, 14] sts. Work as for thumb.
Ring Finger and Middle
Finger
Loosely CO 12[14, 16] sts. Work as for thumb.
Index Finger
Loosely CO 12[14, 16] sts. Work as for thumb;
do not break yarn. Divide sts evenly between
2 needles.
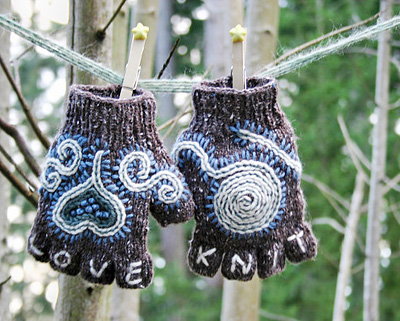
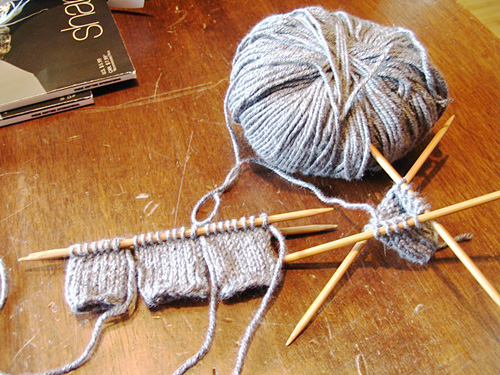
Join Fingers
[see pics in FINISHING below]
Arrange fingers on needles as follows:
Place first 6[7, 8] sts of ring and middle
fingers and first 5[6, 7] sts of little finger
on one needle with litle finger at end; place
remaining sts of these fingers on a second
needle, as shown.
Note: When working Joining Round,
pull yarn tightly when working first and last
sts of each finger, to avoid forming gaps. Do
not weave in yarn tails from separate fingers
as you go; instead, leave these until the finishing
stage, when they can be used to close the gaps
between the fingers.
Joining Round: Using one needle,
k first 4[5, 6] sts of index finger, ssk,
k first 2 sts of middle finger together, k2[3,
4], ssk, k first 2 sts of ring finger together,
k2[3, 4], ssk, k first 2 sts of little finger
together, k3[4, 5]; using second needle, k
next 3[4, 5] sts of little finger, ssk, k
first 2 sts of ring finger together, k2[3,
4], ssk, k first 2 sts of middle finger together,
k2[3, 4], ssk, k first 2 sts of index finger
together, k4[5, 6]. 34[42, 50] sts. You are
at the beginning of the round; place a safety
pin or other marker here to indicate this.
When working next round, work stitches onto
3 or 4 needles, to make the work less awkward.
Continue in stockinette st until work measures
1.25[1.75, 2.25] inches from join. Make a
note of how many rows you have worked, so
that the second glove may be worked exactly
the same way.
Join Thumb
Work one more round, dividing sts between
2 needles, so that they are arranged as they
were for the joining round; work ssk over
last 2 sts. 17[21, 25] sts on first needle,
16[20, 24] sts on second needle.
Place thumb sts on 2 needles, placing 7[8,
9] sts on each needle.
Continuing with second needle of last round
(after ssk), place stitch marker, k first
2 sts of thumb together, k next 5[6, 7] sts
of thumb; using another needle, k next 5[6,
7] sts of thumb, ssk, place stitch marker,
k first 2 sts of next hand round together,
k to end of needle. 44[54, 64] sts.
K the 22[27, 32] sts from next needle onto
2 needles, dividing sts evenly. Place safety
pin at this point (center of thumb) to indicate
beginning of round.
Thumb Gusset
Divide sts between needles as desired when
working next round.
K 2 rounds.
Next Round: K to 2 sts before first
marker, k2tog, k to second marker, ssk, k
to end.
Repeat these 3 rounds 4[5, 6] times more, removing
markers on last round. 34[42, 50] sts.
K 1 round.
Next Round: K2tog, k to last 2 sts,
ssk. 32[40, 48] sts.
K 1 round.
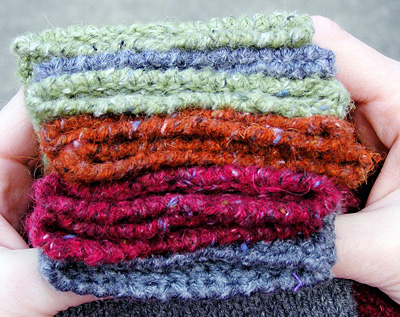
Work Textured Cuff OR Ribbed Cuff.
Textured Cuff
Round 1: [Sl 1 purlwise with yarn in
back, yo, k1, pass slipped stitch over last 2
sts] to end.
Round 2: K all sts.
Round 3: Sl 1, [sl 1 purlwise with yarn
in back, yo, k1, pass slipped stitch over last
2 sts] to last st.;
you should have a needle with one st remaining
in your left hand -- transfer this needle to your
right hand, yo, k first st from next needle (st
from beginning of round), pass slipped stitch
over last 2 sts, there will be 2 stitches on your
working needle;
slip the first of these sts to last needle of
Round 3;
remaining st is the first st of Round 4.
Do not work this st again
when working Round 4.
Round 4: K remaining sts.
Repeat Rounds 1-4 until cuff measures
1.5 inches, or desired length.
BO using Single Crochet Bind Off method.
Work 1 round Crab Stitch.
Ribbed Cuff
Round 1: [K1, p1] to end.
Repeat this round until cuff measures 1.5
inches, or desired length.
BO using Sewn Bind Off method.